Best Image Sizes for Websites (SEO Guide)
Have you ever visited a website that took ages to load? Chances are, you didn't wait. You clicked "back" and went to a competitor. More often than not, the culprit isn't complex code—it's large, unoptimized images.
If you run a blog, e-commerce store, or portfolio, images are your most powerful asset. They're also your biggest liability. Google knows this, which is why image optimization is a massive factor in its SEO (Search Engine Optimization) ranking. A slow site is a low-ranking site.
But "optimizing" images involves two different things: Image Dimensions (in pixels) and File Size (in KB/MB). Let's break down the best practices for both.
Part 1: Image Dimensions (Width & Height)
Image "dimensions" are the physical space an image takes up on the screen, measured in pixels (px). Uploading a 5000px wide photo from your camera is a huge mistake. The user's screen is likely only 1920px or even 390px wide (on mobile). They are forced to download a massive file, only to have the browser shrink it down.
The goal is to resize your image to be *just* big enough for its container, and no bigger.
✅ Recommended Dimensions
- Full-Width Banner / Hero Image: 1920px wide is a safe standard. A height of 1080px (a 16:9 ratio) is common.
- Blog Post Header (like the one on this page): A 16:9 or 4:3 ratio is best. Aim for 1200px wide. (e.g., 1200x675 px).
- In-Content Images (like in this post): Your image should be as wide as your blog's content area. This is often between 720px and 900px wide.
- E-commerce Product Photos: 800px to 1200px square (e.g., 1000x1000 px) is a common standard, allowing for a good zoom-in.
Part 2: File Size (The SEO Killer)
This is the most critical part. File size is how much data the user has to download. Even if you resize your image to 1200px, a high-quality PNG could still be 2MB (2,000 KB). That's far too big.
Your goal for every image on your website should be under 200 KB. For most images, you should aim for under 100 KB.
How do you get a 2MB photo down to 100KB? You use compression.
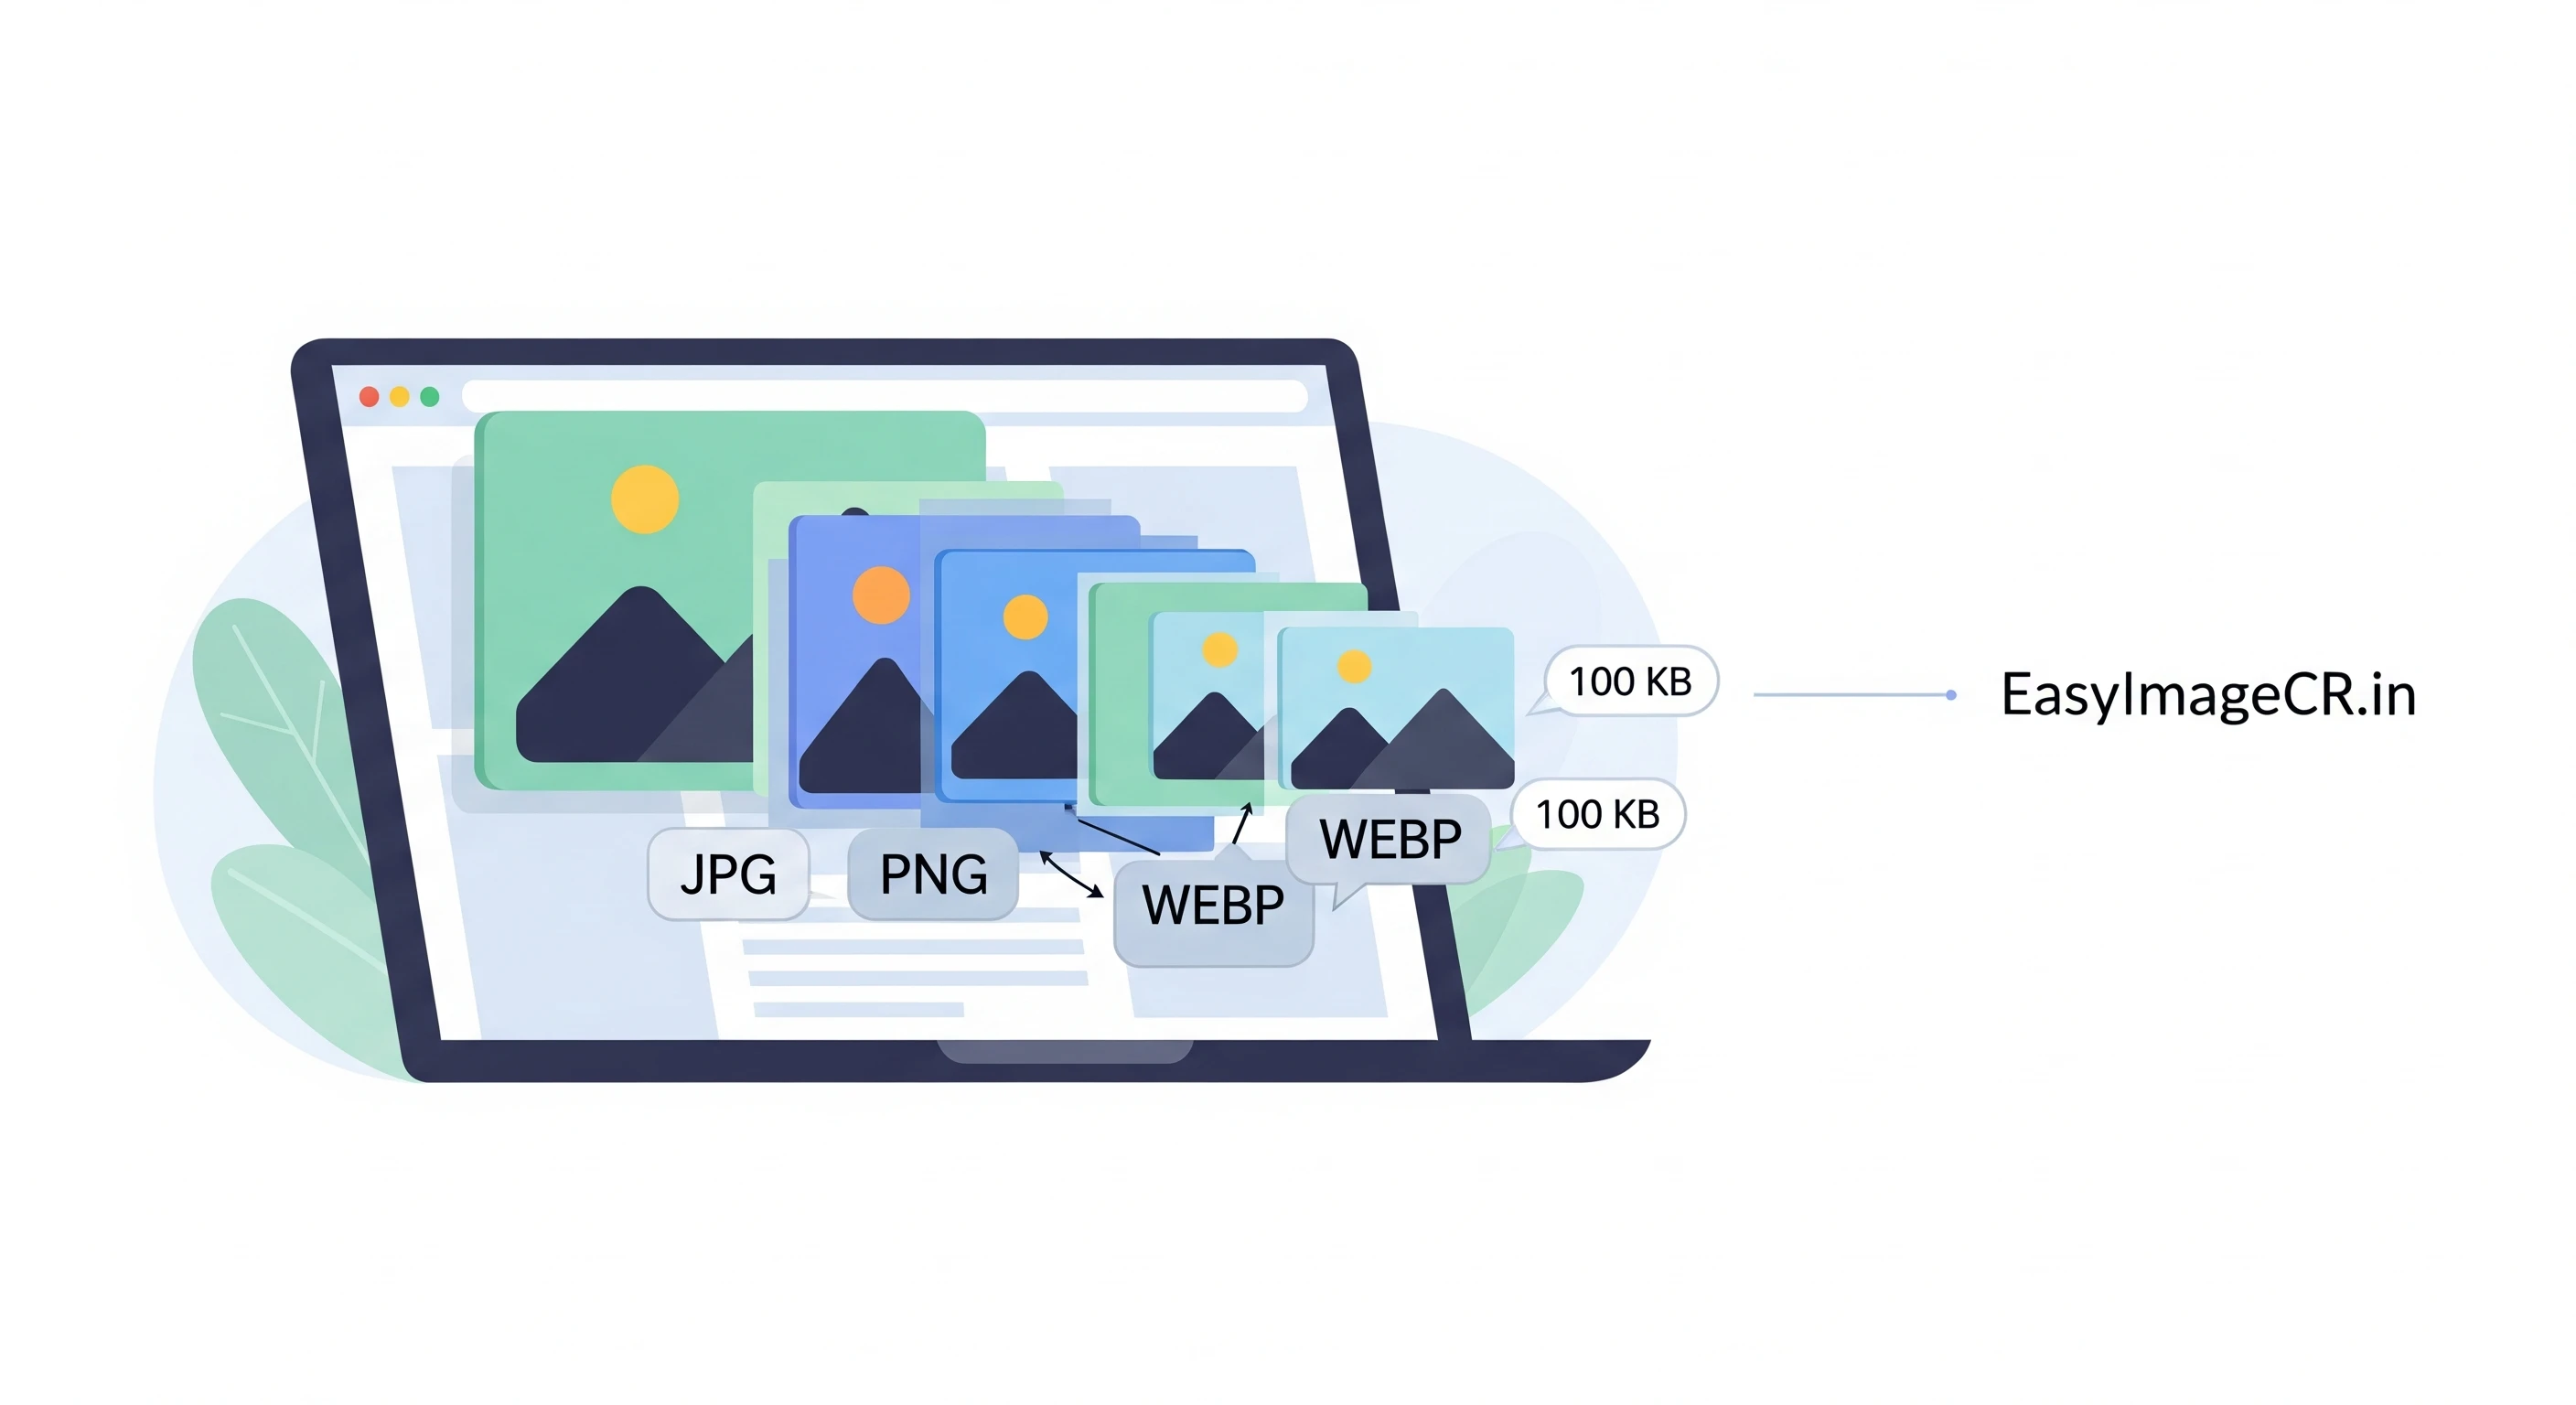
- Lossy Compression (JPG, WEBP): This smartly removes data the human eye can't easily see. Setting a JPG to 85% quality can shrink the file by 90% with almost no visible difference.
- Lossless Compression (PNG): This shrinks the file without losing any data. It's great for logos but terrible for photos, as the files remain large.
The Easy 2-Step Workflow
So, how do you put this all together? Here is the simple, non-coder workflow.
- Step 1: Resize Dimensions. Take your 5000px wide camera photo. You know it's for your blog, so you need it to be 800px wide.
- Step 2: Compress & Convert. That 800px photo might still be 1MB as a PNG. You need to compress it. The best move is to convert it to a modern format like WEBP or a high-quality JPG.
💡 Use a Tool for Both Steps at Once
This is where a tool like EasyImageCR.in becomes essential. You don't need expensive software.
Just open the tool, upload your giant photo, and do both steps in 10 seconds:
- In the "Width" box, type 1200 (or your target).
- Make sure "Maintain Ratio" is checked.
- In the "Format" dropdown, select WEBP or JPEG.
- Use the "Quality" slider (85-90% is great) or use the "Target Size" mode to aim for 100 KB.
- Click "Resize & Download".
The new image is perfectly optimized for your website. And since the tool runs in your browser, your images are never uploaded to a server, keeping them 100% private.
By taking 10 seconds to resize and compress every image before you upload it, you'll make your website dramatically faster, improve your user experience, and give your SEO rankings a serious boost.
⬅ Back to Blogs