How to Bulk Rename Images for SEO & Organization (Free Online Tool)
Summary: Uploading images with names like "DSC_001.JPG" hurts your Google ranking and makes file management a nightmare. This guide shows you how to rename 50+ photos instantly into clean, searchable keywords like "summer-vacation-1.jpg".
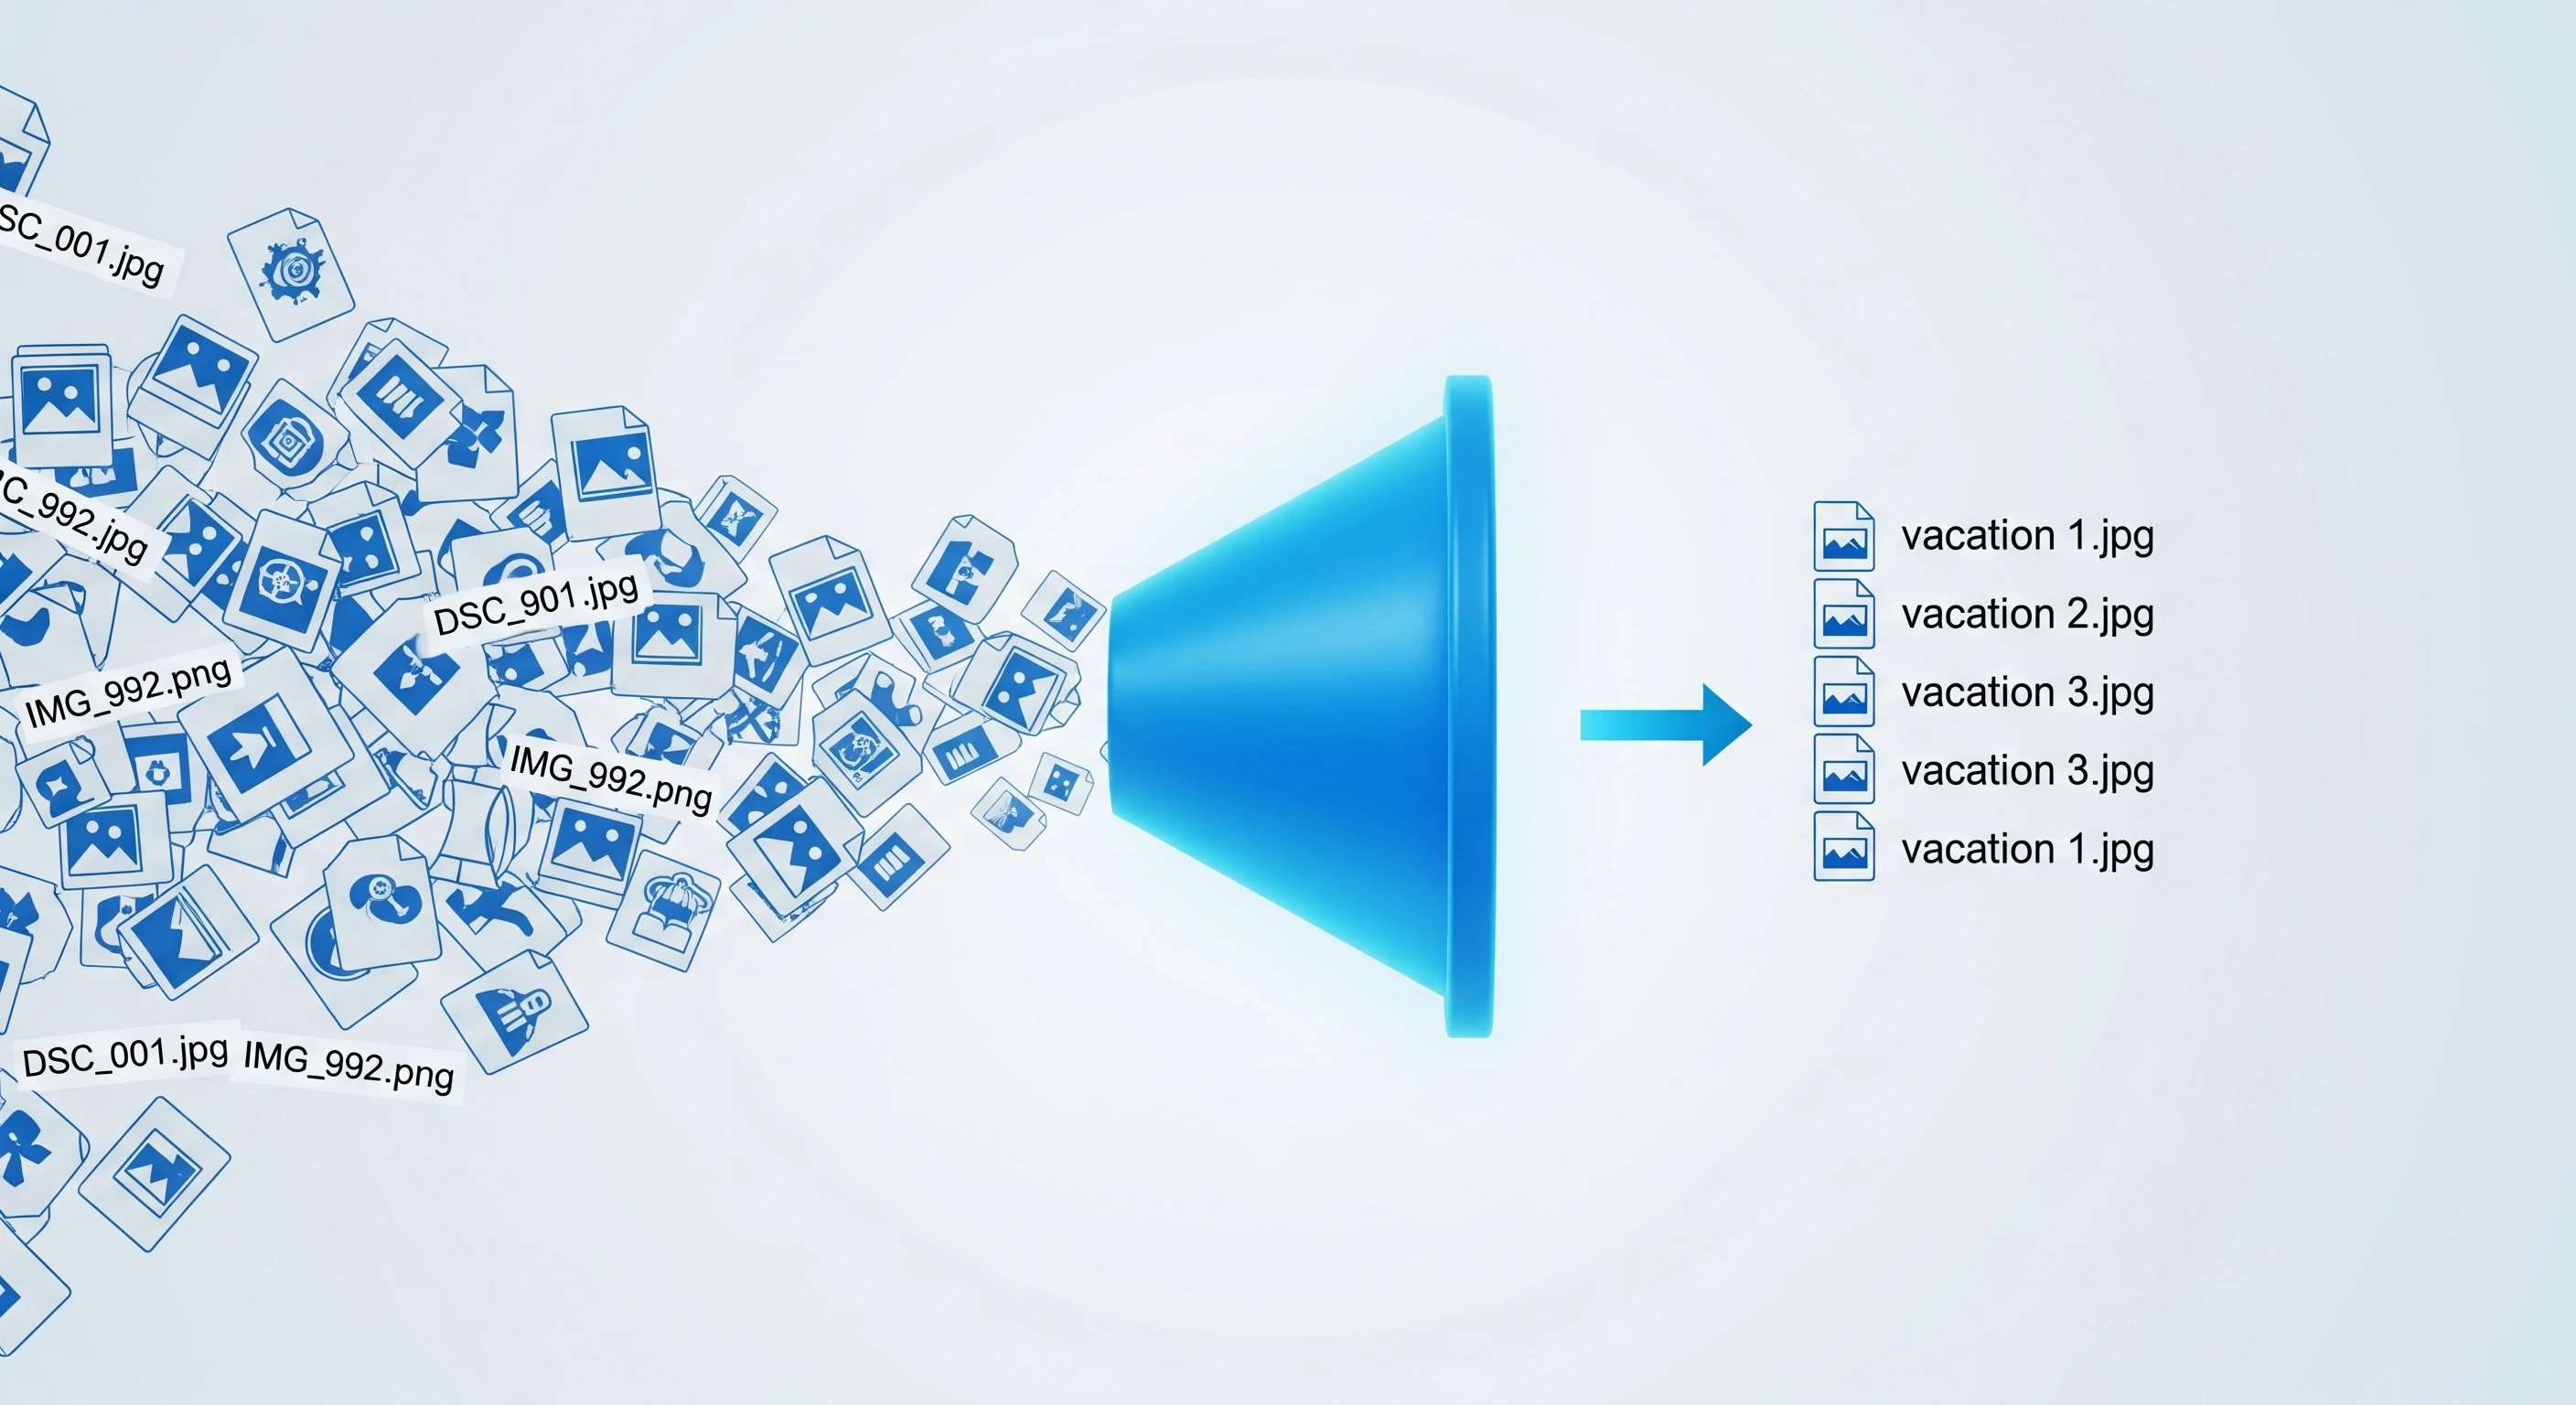
We have all been there. You transfer 100 photos from your camera or phone to your computer, and they are all named IMG_20231129_104522.jpg or DSC_0982.JPG.
This is a problem for two reasons:
- You can't find anything. If you search your computer for "Beach Trip," you get zero results because the files are named with random numbers.
- Google hates it. If you upload these images to a website, blog, or online store, search engines have no idea what the image is about.
Why File Renaming is Critical for SEO
Search Engine Optimization (SEO) isn't just about text; it's about images too. Google Images brings massive traffic to websites, but Google's bots cannot "see" your image the way a human does. They rely heavily on the filename to understand the context.
- Bad Filename:
DCIM1023.jpg(Google ignores this). - Good Filename:
blue-mens-running-shoes.jpg(Google indexes this for "Men's Running Shoes").
If you run an e-commerce store on Shopify, Etsy, or Amazon, renaming your product photos to match your product keywords is the #1 easiest way to get more free traffic.
✅ The Easy Way: Batch Rename Online
You don't need to buy expensive software like Adobe Lightroom just to rename files. You can use EasyImageCR.in to rename, resize, and compress your batch images all at once.
Can I rename WITHOUT resizing?
Yes! If you want to keep your original image quality and dimensions exactly as they are, just leave the "Width" and "Height" boxes empty. Our tool will simply process the file name.
Step-by-Step: How to Rename 50 Photos in Seconds
Step 1: Go to the "Bulk Resize" Tab
Open EasyImageCR.in and click on the second tab labeled "Bulk Resize". This mode is designed for processing multiple files simultaneously.
Step 2: Upload Your Messy Files
Drag and drop your entire folder of images (JPG, PNG, WEBP, or HEIC). You will see them listed instantly.
Step 3: Enter Your New "Base Name"
Look for the input field labeled "Custom Filename (Optional)".
Type the main keyword you want to use.
Example: If you type paris-holiday, the tool will automatically number your files as:
paris-holiday-1.jpgparis-holiday-2.jpgparis-holiday-3.jpg
Step 4: Choose Format (Optional)
You can also convert them all to WEBP or JPG at the same time. If you don't want to change the format, just ensure the output format matches your input.
Step 5: Click "Batch Process"
Watch as the tool instantly processes every file. Your browser will download them one by one, neatly renamed and ready to upload.
Best Practices for Naming Images
To get the most out of your new organized library, follow these rules:
- Use hyphens, not underscores: Google prefers
my-photo.jpgovermy_photo.jpg. - Keep it lowercase: Avoid capitalization issues on different servers (Linux vs Windows).
- Be descriptive but brief:
red-ferrari-2024.jpgis better thancar.jpgorpicture-of-a-red-car-driving-fast.jpg.
Start organizing your digital life today. A clean file structure saves you hours of searching later!
⬅ Back to Blogs