How to Create a Perfect Circle Profile Picture (No Photoshop Needed)
Summary: Almost every social media platform uses circular profile pictures. If you upload a square photo, you risk losing important details in the corners. This guide shows you how to turn any photo into a perfect circle with a transparent background instantly.
Look at Instagram, WhatsApp, LinkedIn, or Google. What do they all have in common? Circular profile pictures. The era of the square avatar is over.
This creates a problem. Cameras take rectangular photos. When you upload that rectangle to LinkedIn, the platform forces a circle crop on it. Often, this cuts off your shoulder, your hair, or the logo on your shirt. Even worse, if you are trying to put a photo on your Resume or CV, pasting a square box looks outdated and clunky.
The solution is to **crop the image into a circle yourself** before you use it. This gives you total control over the framing and allows you to place it on any background perfectly.
Why Use a Transparent Circle?
When you crop an image to a circle, the corners don't just disappear—they become transparent (invisible). This is powerful because:
- Resumes/CVs: You can place your photo over a colored header, and it will look like a professional design element, not a sticker.
- Websites/Portfolios: It blends seamlessly into your site's design.
- Logos: A circular logo looks much cleaner on business cards and flyers.
✅ The 10-Second Circle Crop Workflow
You don't need to learn masking in Photoshop. We added a specific feature to EasyImageCR.in to do this in one slide.
Step 1: Upload & Crop to Square
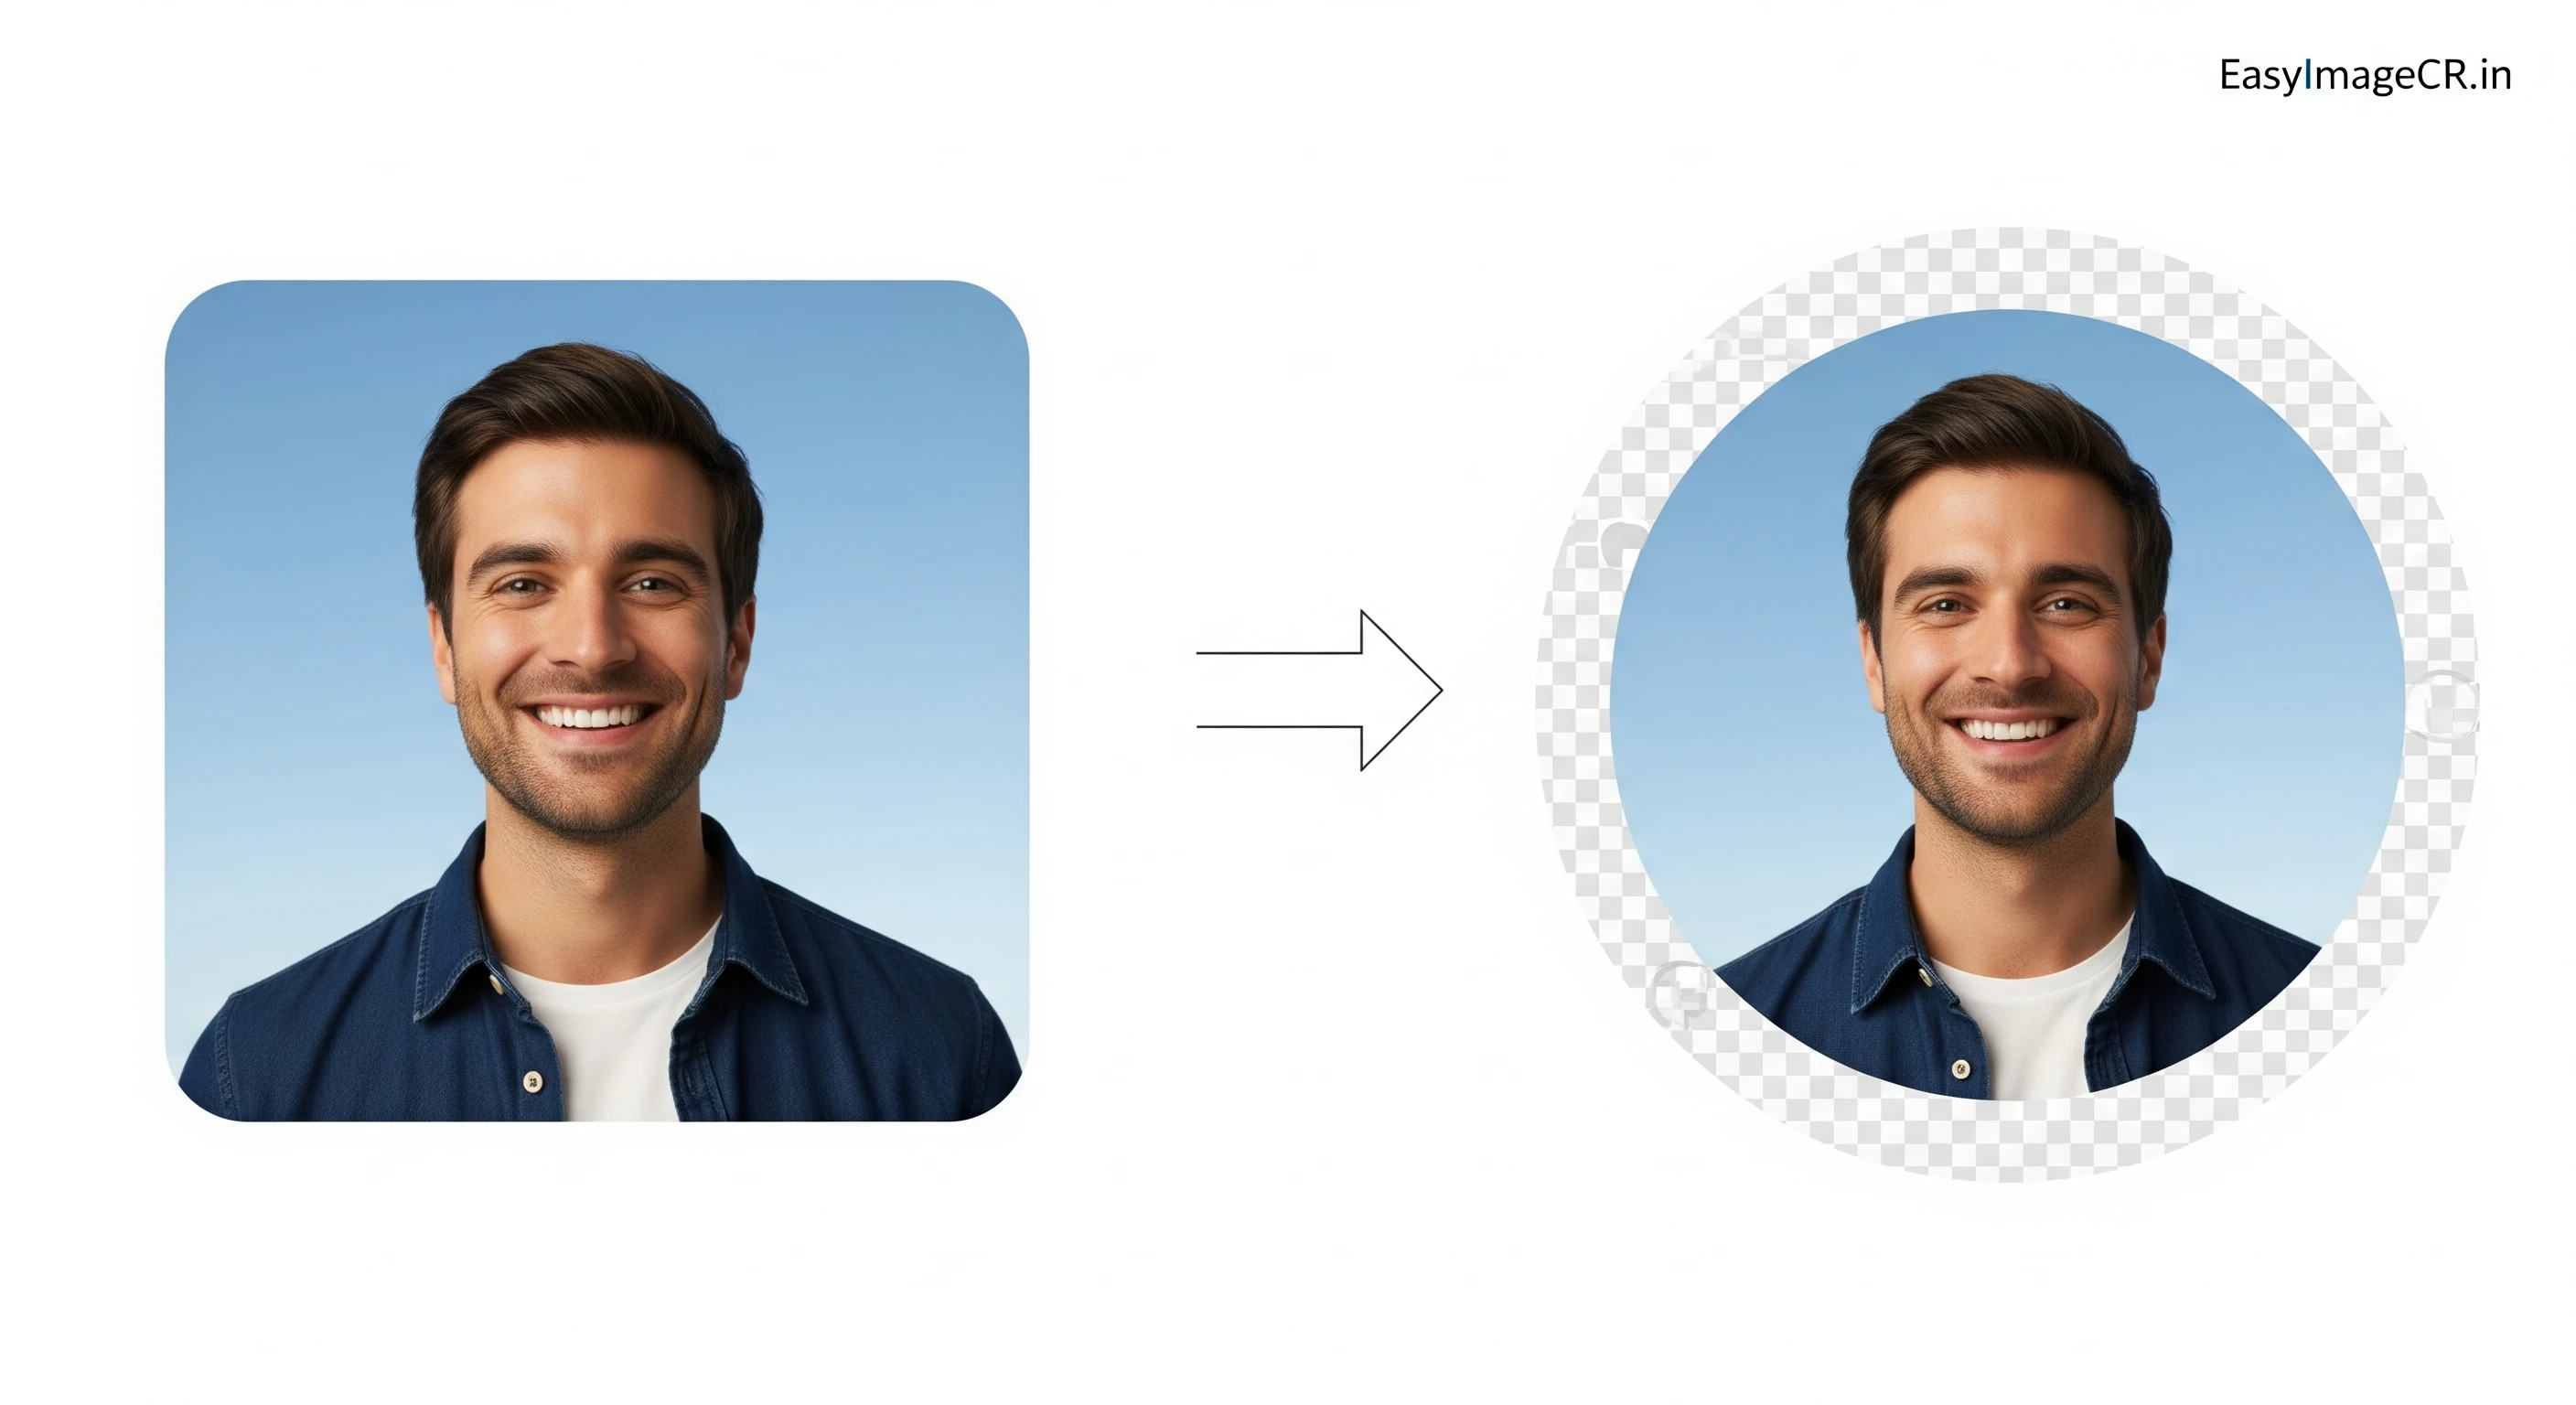
Upload your photo. Click the "1:1" crop button to center your face in a perfect square. This ensures your circle won't be an oval!
Step 2: The "Rounded Corners" Trick
Click "🎨 Show Edit Tools" to open the advanced menu.
Find the "Rounded Corners" slider. Drag it all the way to the right (50%).
Magic! Your square photo is now a perfect circle.
Step 3: Save as PNG (Important!)
In the "Format" dropdown, you MUST select PNG (or WEBP).
Why? JPEG does not support transparency. If you save as JPEG, the corners will turn white instead of invisible.
Step 4: Download
Click "Resize & Download". You now have a professional, circular image ready to drop into your resume, website, or profile.
Bonus Design Tip: Add a Border
Want your profile picture to pop? Add a colored ring around it (like the Instagram Story ring).
While you are in the "Edit Tools" menu, just use the "Border Width" slider to add a solid border, and pick a color that matches your brand. It frames your face and draws attention to your photo.
⬅ Back to Blogs