How to Resize Large Photos for Printing Without Losing Quality
Glimpse: Large photos for print need careful resizing to maintain detail and colour. This guide walks you through calculating DPI, high-quality resampling, sharpening methods, and export settings to get professional, sharp prints.
The Challenge of Print vs. Web
Neha had a beautiful landscape shot taken on her new high-resolution camera. She wanted to print it as a large 24x16 inch poster for her wall. She knew how to resize images for her blog, but when she sent the file to the print shop, the test print came back soft and slightly blurry. What went wrong?
Resizing for print is a completely different challenge than resizing for the web. On the web, our main goal is a small file size for fast loading. For print, our *only* goal is maximum detail and accurate color, even if the file is 100MB. This requires a different set of rules.
Step-by-Step: Resizing for a Perfect Print
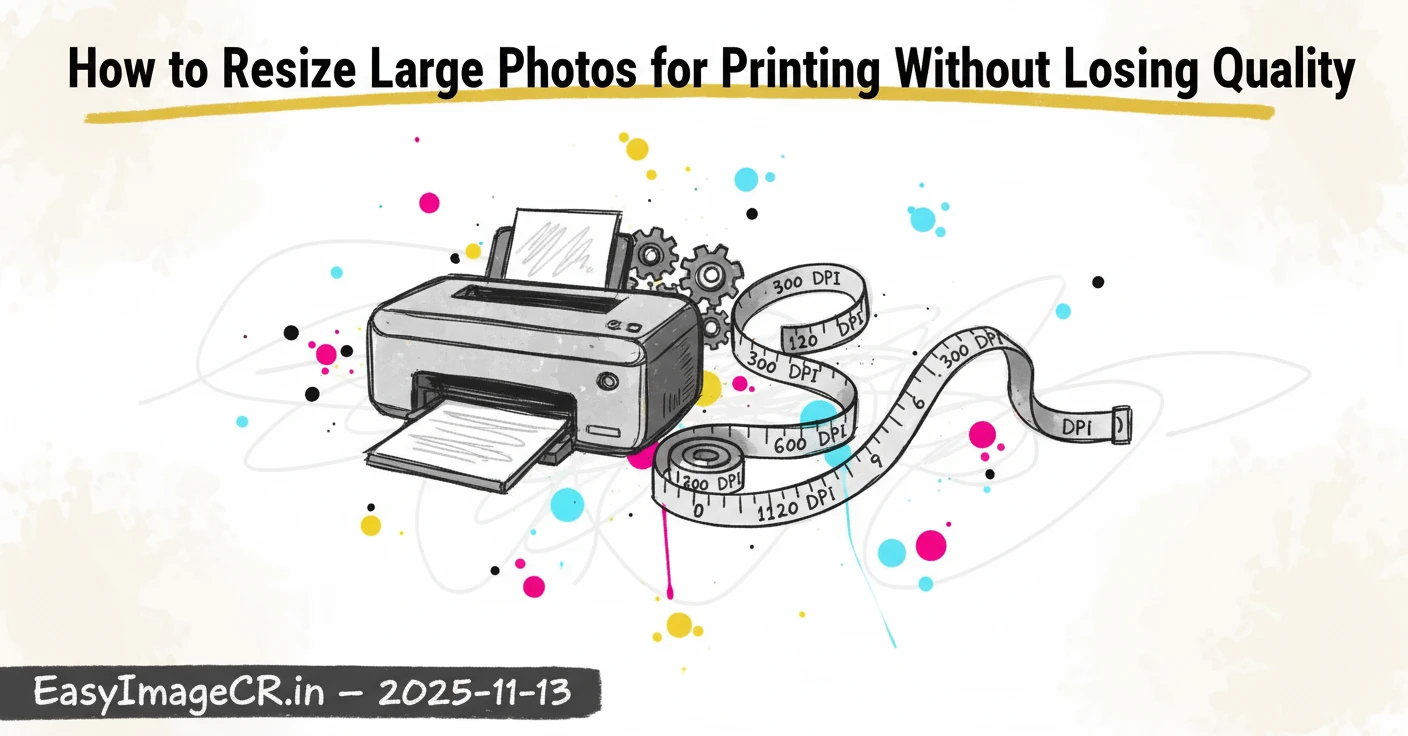
1. Know Your Target: Print Size & DPI
First, decide your physical print size (e.g., 24x16 inches). Second, ask your print shop for their recommended DPI (Dots Per Inch).
- 300 DPI is the standard for high-quality, premium prints where viewers will be up close (like a photo book).
- 150-200 DPI is often perfectly fine for larger prints that are viewed from a distance (like a wall poster).
2. Calculate Your Final Pixel Dimensions
This is the most important calculation. Do not guess.
(Target Inches) × (Target DPI) = (Required Pixels)
For Neha's 24x16 inch print at 200 DPI, she needs:
- Width: 24 inches × 200 DPI = 4800 pixels
- Height: 16 inches × 200 DPI = 3200 pixels
3. Always Start with Your Full-Resolution Original
Never use a photo you've already shrunk for email or Instagram. Find the original, full-size file from your camera (it might be a 50MB JPG or a 100MB RAW file). You need every pixel of data you can get.
4. Use High-Quality Resampling
When you resize in a program like Photoshop or GIMP, you're not just "stretching." The software is "resampling"—intelligently creating or deleting pixels. Always choose the highest quality setting, often called "Bicubic (best for smooth gradients)" or "Bicubic Sharper (best for reduction)".
5. Sharpen *After* Resizing
Resizing (especially downscaling) can make an image slightly "soft." The final step is to apply a gentle sharpening filter (like an "Unsharp Mask") to the *newly resized* image. This restores the crispness of the details.
6. Embed the Correct Color Profile
Your screen uses an "RGB" color profile. Most printers use "CMYK." Ask your print shop which profile to use (e.g., "sRGB" or a custom one they provide) and embed it in the final file to ensure colors don't shift during printing.
7. Export as TIFF or Max-Quality JPEG
For print, file size doesn't matter, but quality does.
- TIFF: This is the professional, lossless standard. It's the best choice.
- JPEG: If you must use JPEG, set the quality to 100 (Maximum).
💡 Pro Tip 1: Always Edit a Duplicate
Never, ever overwrite your original high-resolution file. Always save your print-ready version as a new file, like "landscape-print-24x16.tiff".
💡 Pro Tip 2: What About Web Versions?
After you've saved your massive TIFF file for the printer, you might want to share a copy on your blog. For this, you would do the *opposite*: prioritize small file size. You could take your new 4800px image, upload it to EasyImageCR.in, resize it to 1200px wide, and convert it to WEBP format at 85% quality. This will give you a tiny, fast-loading image perfect for web use.
Mini FAQ
Can I upscale a small JPG to print larger?
It's not recommended as it will look blurry. The only exception is using modern "AI Upscaling" tools, which can intelligently invent detail, but results may vary.
TIFF or JPEG for the print shop?
Always choose TIFF if the shop accepts it. It's lossless. If they only accept JPEG, use the absolute maximum quality setting (100).
⬅ Back to Blogs