How to Resize an Image Online Without Losing Quality
Resizing an image sounds simple, but it's incredibly easy to get it wrong. We've all seen the painful results: stretched, "squashed" photos, blurry icons, or images that look sharp but take ten seconds to load.
The problem is that "resizing" can mean three different things. Let's clarify the problems so you can get the perfect image every time.
Problem 1: The "Squashed" Image (Wrong Aspect Ratio)
This happens when you try to force a rectangular image into a square hole. You have a photo that is 1200px wide and 800px high, but the website needs a 500x500px profile picture. You type "500" into both Width and Height boxes. The result is a distorted, unprofessional-looking image.
The Fix: You must maintain the aspect ratio. This means you only change *one* number (Width OR Height) and let the other number calculate itself automatically.
Problem 2: The "Blurry" Image (Upscaling)
This happens when you try to make a small image larger. You have a 300px wide logo, but you need it to be 800px wide for a banner. When you "upscale" it, the computer has to *invent* pixels to fill in the gaps, resulting in blurriness and artifacts.
The Fix: Always start with the largest, highest-resolution image possible. You can always make an image smaller, but you can't easily make it bigger.
Problem 3: The "Secretly Huge" Image (CSS Resizing)
This is the most common mistake. You have a 5MB, 4000px-wide photo from your phone. You upload it to your blog and use the editor's "drag" handles to make it *look* smaller.
The problem? The user's browser still has to download the *entire 5MB photo* and then shrink it. This makes your website incredibly slow and wastes mobile data.
The Fix: You must resize the image *before* you upload it. The goal is to create a new file that is physically smaller (e.g., 800px wide) and has a smaller file size (e.g., 90 KB).
✅ The Correct & Easy Way to Resize
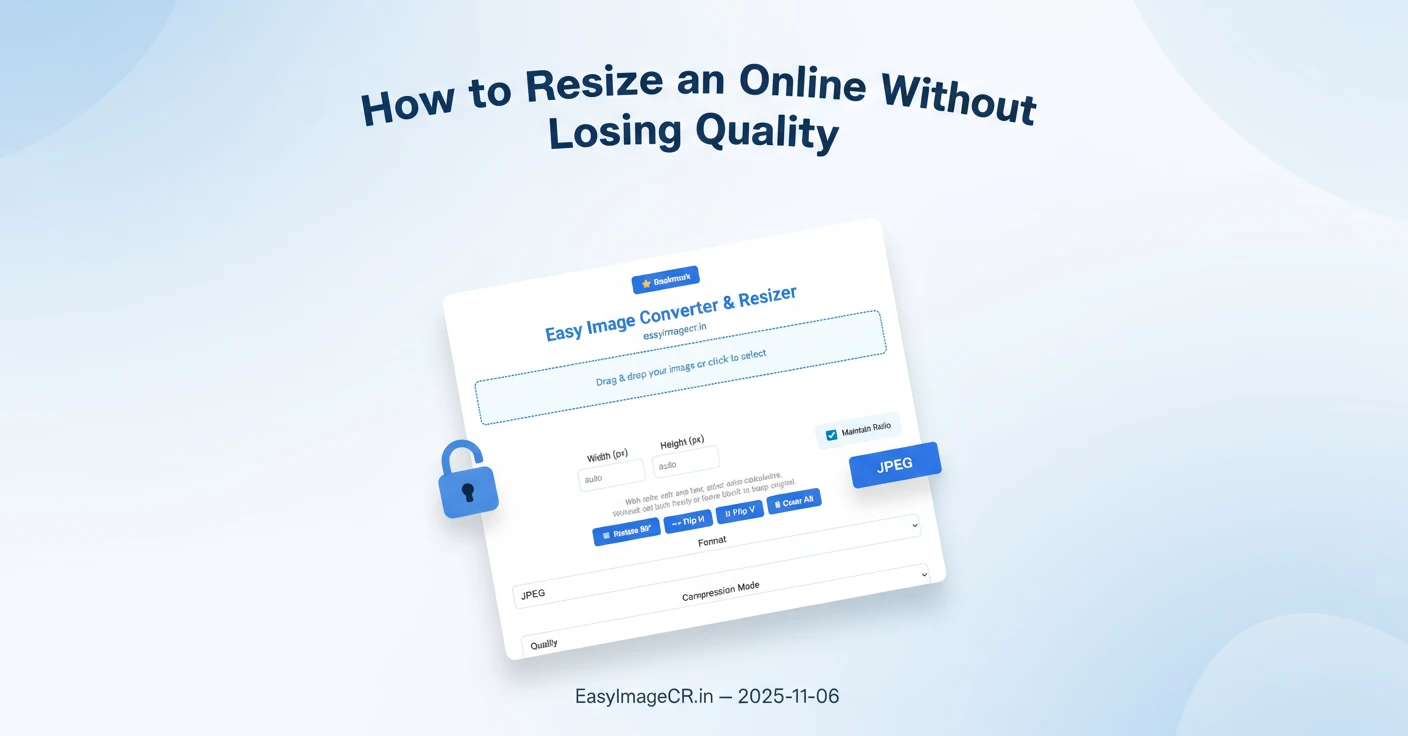
To do this right, you need a tool that "resamples" the image—rebuilding it pixel by pixel to a new size. This is the core function of EasyImageCR.in.
Step-by-Step Guide:
- Open EasyImageCR.in. Drag or upload your large source image.
- Look at the "Resize Fields". You'll see "Width (px)" and "Height (px)".
- Decide on your *one* target dimension. For a blog post, you might want a width of 800.
- Make sure the "Maintain Ratio" box is checked. This is the most important step!
- Type 800 into the "Width" box. You will see the "Height" box automatically calculate the correct proportional height.
- (Optional) Choose a format. WEBP or JPEG are best for resized photos.
- Click Resize & Download.
In 15 seconds, you will have a new image file that is physically 800px wide, perfectly proportioned, and already compressed for fast web loading. And because the tool is browser-based, your original high-resolution photo never leaves your computer.
⬅ Back to Blogs