Why Your Shopify Store is Slow: A 5-Step Guide to Optimizing Product Images
Glimpse: A slow Shopify store kills conversions. The #1 culprit is almost always large, unoptimized product images. This guide provides a simple 5-step workflow to resize, compress, and convert your images for a much faster store and better SEO.
You’ve done everything right. You found a great product, built a beautiful Shopify store, and set up your ads. But your sales are low, and your "add to cart" rate is disappointing. What's the problem?
There's a good chance your store is simply too slow.
In e-commerce, **speed is money**. Studies show that for every one-second delay in page load, conversion rates can drop by over 7%. The biggest, heaviest, and most common cause of a slow store is your product imagery. That beautiful 4MB photo from your supplier's camera is costing you customers.
The good news? This is the easiest problem to fix. Here is the definitive 5-step guide to optimizing your product images.
Part 1: Why Image Optimization Matters for Shopify
- It Boosts Sales:** A faster site feels more professional and trustworthy. A customer who can load 5 products in 3 seconds is far more likely to buy than one who waits 10 seconds for a single page.
- It Improves SEO:** Google's "Core Web Vitals" are a major ranking factor. A key metric is "Largest Contentful Paint" (LCP), which is usually your main product image. A large image = a slow LCP = a lower Google ranking.
- It Saves You Money:** Over time, serving huge image files can increase your store's bandwidth costs.
Part 2: The "Perfect" Shopify Product Image
Before you upload anything, you need a target. What does Shopify *want*?
Best Dimensions: 2048 x 2048 pixels (Square)
Shopify recommends using square (a 1:1 aspect ratio) images for your products. This ensures they look uniform on your collection pages.
While you can upload any size up to 4472 x 4472, the "sweet spot" is **2048 x 2048 px**. This is high-resolution enough for Shopify's "zoom" feature to look crisp and professional, but not so large that the file size becomes unmanageable.
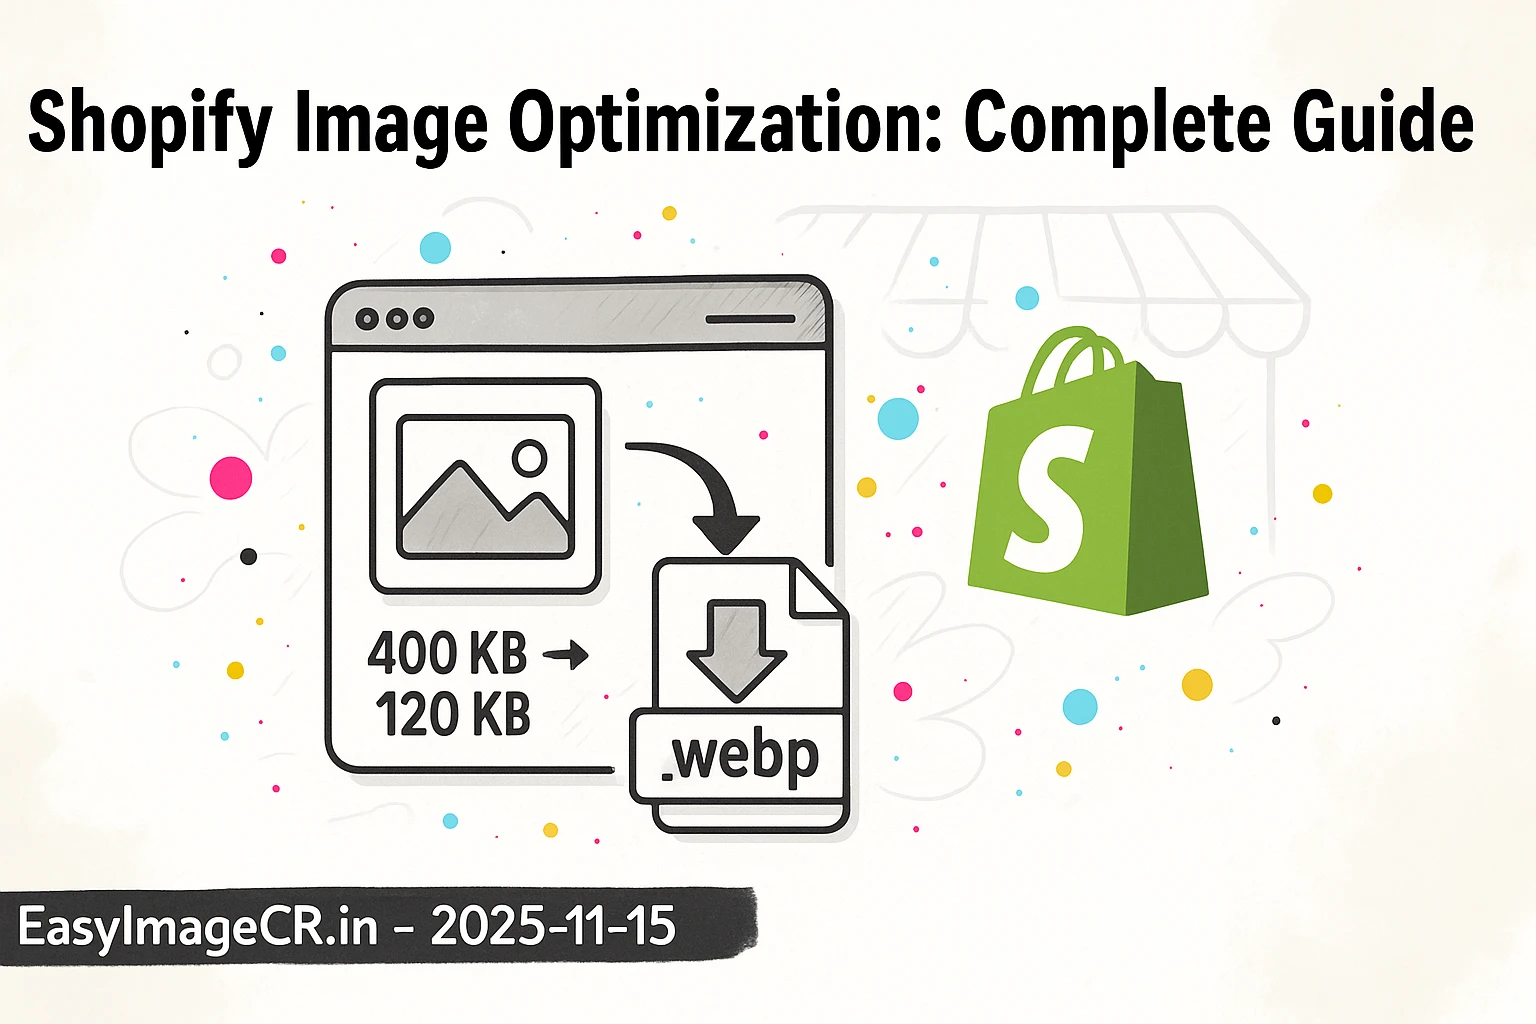
Best Format: WEBP
Shopify automatically converts your uploaded JPGs and PNGs into the modern **WEBP** format to serve to customers. This is great, but it's an automated process. For the absolute best results, you should **upload a high-quality, pre-optimized WEBP file**. This gives you full control over the final quality and compression, resulting in the smallest possible file that still looks amazing.
Best File Size: Under 200 KB
This is the golden rule. A 2048px WEBP image should never be 3MB. By using good compression, you can easily get your product images under 200 KB, and often **under 100 KB**, with no visible loss in quality.
Part 3: The 5-Step Image Optimization Workflow
Here is the simple, non-coder workflow. Do this *before* you upload any image to your Shopify dashboard.
✅ The 5-Step Workflow
Step 1: Crop to a Square (1:1 Ratio)
Before you resize, get the shape right. Use any basic photo editor (even your phone's) to crop your product photo into a 1:1 Square. Make sure your product is centered.
Step 2: Resize to 2048px
Now, take your large square image and resize it. Open EasyImageCR.in in your browser.
- Upload your cropped square image.
- In the "Width (px)" box, type 2048.
- Because "Maintain Ratio" is on, the "Height (px)" will automatically become 2048.
Step 3: Convert to WEBP
In the "Format" dropdown, select WEBP. This is the single best format for Shopify.
Step 4: Compress for Size
In the "Compression Mode" section:
- Select "Quality" and set the slider to **85-90%**. This is usually perfect.
- *Alternatively*, select "Target Size (KB)" and type in 150 to guarantee your file is small.
Step 5: Download and Upload
Click "Resize & Download". You now have a file named `your-product.webp` that is perfectly resized, compressed, and converted. Upload this file to Shopify. As a bonus, it's all done in your browser, so your new product photos are never uploaded to a random server.
Bonus Tip: Don't Forget "Alt Text"
After you upload your optimized image to Shopify, click on it. You'll see an "Alt text" field. Don't leave this blank!
Describe the image clearly, like: "Close-up of a blue and white ceramic coffee mug on a wooden table." This text is crucial for two reasons:
- It's what screen readers use for visually impaired customers.
- It's what Google Images reads to understand your product, which is a *huge* boost for your SEO.
Your product images are your #1 sales tool. By taking an extra 30 seconds to optimize them *before* you upload, you ensure your store is fast, professional, and ranks higher—all of which lead directly to more sales.
⬅ Back to Blogs