How to Optimize Images for WordPress to Score 100 on Google PageSpeed
Summary: The #1 reason for a slow WordPress site is large, unoptimized images. Plugins can help, but they bloat your database. The best method is to resize and compress your images before you upload them. This guide shows you the perfect workflow.
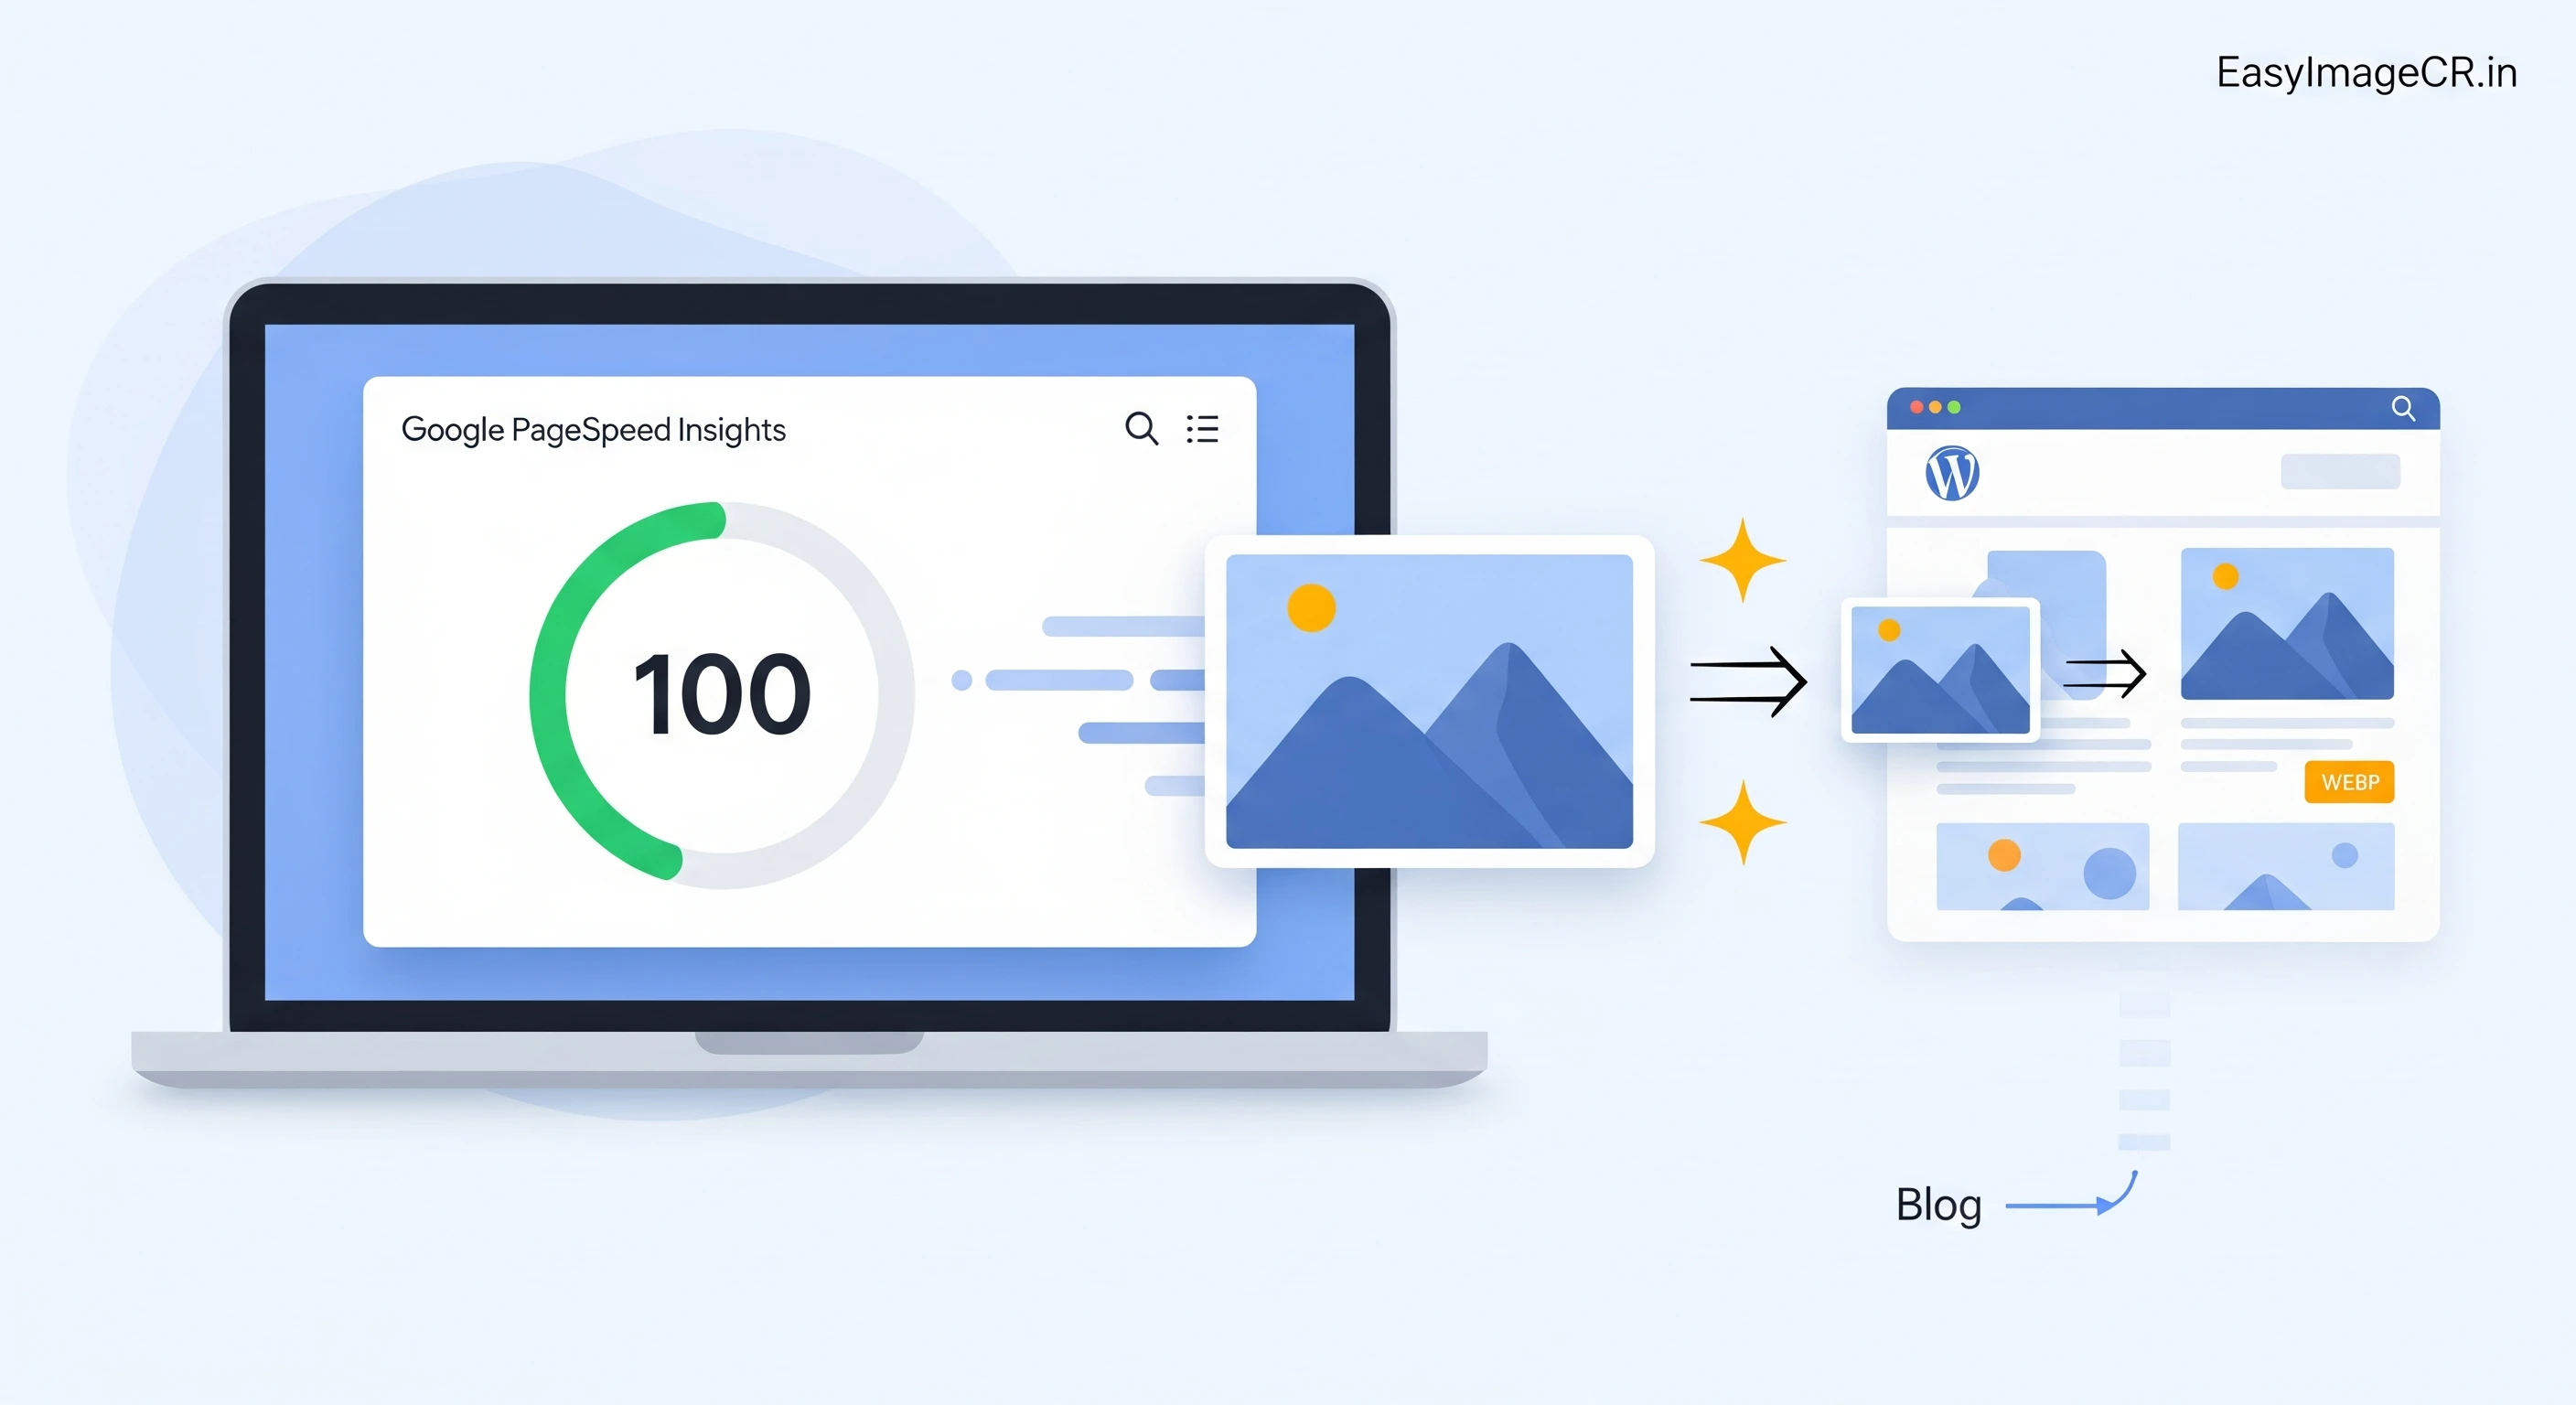
You just ran your website through Google PageSpeed Insights, and the result is red. Your score is 45/100. The main warning? "Properly size images" or "Serve images in next-gen formats."
Images are the heaviest part of any webpage. A single 5MB photo uploaded directly from your phone can take 3+ seconds to load on a mobile network. In the world of SEO (Core Web Vitals), anything over 2.5 seconds is a fail.
Many beginners install "Image Optimization Plugins" on WordPress to fix this. While useful, these plugins often slow down your site's backend, cost money for "Pro" versions, or produce low-quality results. The superior method is to optimize your images manually before they ever touch your WordPress media library.
The 3 Golden Rules of Web Images
1. Never Exceed the Display Size
If your blog content area is only 800 pixels wide, uploading a 4000-pixel wide image is a waste. The browser has to download the massive file and then shrink it down, wasting data and CPU power.
Target Widths:
- Blog Content: 800px - 1000px width.
- Full-Width Banner: 1600px - 1920px width.
- Thumbnail/Product: 500px - 800px width.
2. Use "Next-Gen" Formats (WEBP)
Google explicitly recommends **WEBP** over JPEG or PNG. A WEBP image is typically **30% smaller** than a JPEG of the same quality. By converting your files to WEBP, you instantly boost your speed score.
3. The 100 KB Limit
Aim to keep every single image on your page under **100 KB**. Large banners can go up to 200 KB, but smaller images should be 50-70 KB. This ensures your page loads instantly, even on 4G networks.
✅ The Perfect Pre-Upload Workflow
Follow this routine for every post, and you will never see a speed warning again. You can use our free tool, EasyImageCR.in, to do it all in one step.
Step 1: Identify Your Target Width
Check your WordPress theme. Most blog columns are around 800px wide. Let's use 800px as our standard.
Step 2: Resize & Convert in Bulk
Go to the "Bulk Resize" tab on EasyImageCR. Drag in all the photos for your blog post at once.
Step 3: Apply The "Magic Settings"
- Width: Type 800. (Leave Height blank to maintain ratio).
- Format: Select WEBP.
- Compression: Select "Quality" and set it to 85%.
Step 4: Download & Upload to WordPress
Click "Batch Process". You will get a set of optimized, web-ready files. Upload these to your post. You will notice they upload instantly because they are so small!
Advanced Tip: Lazy Loading
Even with optimized images, loading 20 photos at once can slow down the initial paint. Ensure your WordPress site has "Lazy Loading" enabled.
Most modern browsers support native lazy loading. In WordPress, simply adding the attribute loading="lazy" to your image tags tells the browser: "Don't download this image until the user scrolls down to it." This drastically improves your LCP (Largest Contentful Paint) score.
By combining Manual Pre-Optimization (using EasyImageCR) with Lazy Loading, you are guaranteeing a fast, SEO-friendly website that Google loves.
⬅ Back to Blogs